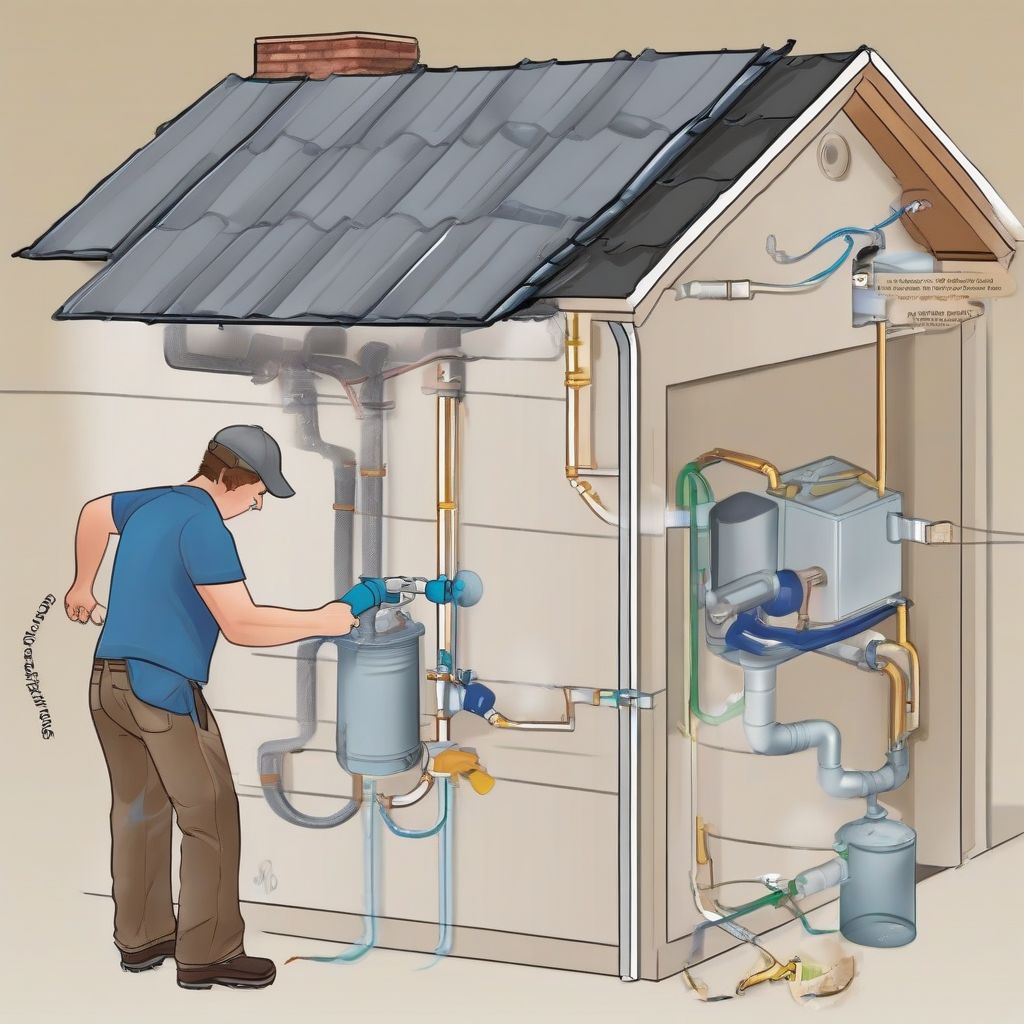
Imagine a world where you could water your garden, wash your clothes, and even flush your toilets using free, natural rainwater. Sounds amazing, right? With a rainwater harvesting system, this dream can become a reality! Not only is rainwater harvesting eco-friendly, but it can also save you money on your water bill and provide a reliable water source during droughts.
This guide will walk you through everything you need to know about installing and maintaining your own rainwater harvesting system. Let’s dive in!
Understanding Rainwater Harvesting Systems
Before we jump into the how-to, let’s quickly cover the basics. A rainwater harvesting system collects and stores rainwater from your roof for later use. It typically involves these key components:
- Catchment Surface: Usually your roof, which collects rainwater.
- Gutters and Downspouts: These channel water from your roof.
- Leaf Screens and Filters: These prevent debris from entering your storage tank.
- Storage Tank: This is where your collected rainwater is stored.
- Pump and Distribution System: These transport water from the tank to your taps or irrigation system.
Choosing the Right Rainwater Harvesting System
The type of system that’s right for you depends on your needs and budget.
- Rain Barrels: A simple and affordable option, ideal for small gardens.
- Above-Ground Tanks: Larger capacity, suitable for watering larger areas or multiple uses.
- Underground Tanks: Space-saving and aesthetically pleasing, but installation is more complex.
Consider factors like your local rainfall, water needs, and available space when making your choice.
Step-by-Step Installation Guide
Installing a basic rainwater harvesting system is more achievable than you might think. Here’s a general overview, but always refer to your specific product instructions:
1. Plan Your System:
- Determine Your Water Needs: Calculate how much water you’ll use for your intended purposes.
- Choose a Location: Select a suitable spot for your tank, considering sunlight exposure, proximity to downspouts, and ease of access.
- Check Local Regulations: Some areas have specific guidelines for rainwater harvesting systems.
2. Install Gutters and Downspouts:
- Ensure Proper Gutters: Make sure your existing gutters are clean and free of leaks.
- Install Downspout Diverters: These devices direct rainwater from your downspout to your storage tank.
3. Set Up Your Storage Tank:
- Prepare the Foundation: Create a level base for your tank, using gravel or concrete if necessary.
- Connect Inlet and Overflow Pipes: Follow the manufacturer’s instructions to properly connect these pipes.
- Install a Tank Overflow: This safely directs excess water away from your foundation.
4. Connect the Pump and Distribution System:
- Choose a Pump: Select a pump based on your water pressure needs and the distance to your outlets.
- Connect Piping: Run pipes from your tank to your desired water outlets.
- Install Filters: Consider using pre-filters and post-filters to ensure water quality.
5. Test Your System:
- Run Water Through the System: Check for leaks and ensure everything is working correctly.
- Make Adjustments: Fine-tune your system as needed, adjusting pump pressure or adding components.
 Rainwater Harvesting System Installation
Essential Maintenance Tips
Proper maintenance ensures your system operates efficiently for years to come.
- Regular Inspections: Inspect your system monthly for leaks, debris buildup, and any signs of damage.
- Clean Gutters and Downspouts: Remove leaves, twigs, and other debris from your gutters and downspouts at least twice a year.
- Clean and Flush Your Tank: Empty and clean your tank annually to prevent algae growth and sediment buildup.
- Check Pump and Filters: Inspect your pump regularly and replace filters according to the manufacturer’s recommendations.
- Winterize Your System: Drain your tank and disconnect hoses and pumps in freezing climates.
Benefits of Rainwater Harvesting
Investing in a rainwater harvesting system offers numerous benefits:
- Environmental Sustainability: Conserves water by reducing reliance on municipal supplies.
- Financial Savings: Lowers your water bills and can even increase property value.
- Water Conservation: Helps preserve groundwater resources and reduce stormwater runoff.
- Chemical-Free Water: Rainwater is naturally soft and free of chlorine and other chemicals, making it ideal for plants.
- Emergency Preparedness: Provides a backup water source during droughts or emergencies.
Is Rainwater Harvesting Right for You?
Rainwater harvesting is a fantastic way to conserve water and save money, but it’s not for everyone. Consider these factors:
- Local Climate: Areas with ample rainfall are ideal for rainwater harvesting.
- Roof Type: Metal roofs are best, while asphalt shingles are also suitable. Avoid harvesting from treated wood or lead-painted roofs.
- Lifestyle and Needs: Assess your water usage and intended applications for harvested rainwater.
Conclusion
Rainwater harvesting is a rewarding investment that benefits both your wallet and the environment. By following these steps and tips, you can enjoy the many advantages of using this free and sustainable water source. Remember to check local regulations and consult with professionals if you have any questions or need assistance with installation. Happy harvesting!
Ready to take the next step? Share your thoughts or questions in the comments below, and let’s discuss how rainwater harvesting can work for you!
[amazon bestseller=”rainwater harvesting”]
